Bicycle crunches are a bodyweight exercise that strengthens the core, working the deep abdominal muscles that support the spine and wrap around your midsection. It’s one of the best core exercises to build a strong midsection and sculpt your six-pack abs. But how to do bicycle crunches in the right way?
This article explains how to perform bicycle crunches properly and provides variations that can make this exercise more challenging.
Bicycle Crunches Benefits
The bicycle crunch is a good exercise for your abdominal muscles and for burning fat.
It helps strengthen various muscles including the rectus abdominis, transverse abdominis, and internal as well as external obliques.
Here are seven health benefits that you can expect to experience if you do bicycle crunches regularly:
- It improves core strength.
- It builds muscle.
- It burns calories quickly.
- It improves balance and flexibility.
- It works your legs, arms, and shoulders.
- It boosts brainpower.
- It is easier on your back than other types of crunches.
Bicycle Crunches Muscles Worked
The best thing about bicycle crunches is that they improve the strength, endurance, and flexibility of your core muscles.

Muscles Worked
The important muscles that get worked while doing bicycle crunches are:
- rectus abdominis (RA),
- transverse abdominis (TVA),
- the external and internal obliques,
- hip flexors, and
- lower back
Rectus abdominis (RA)
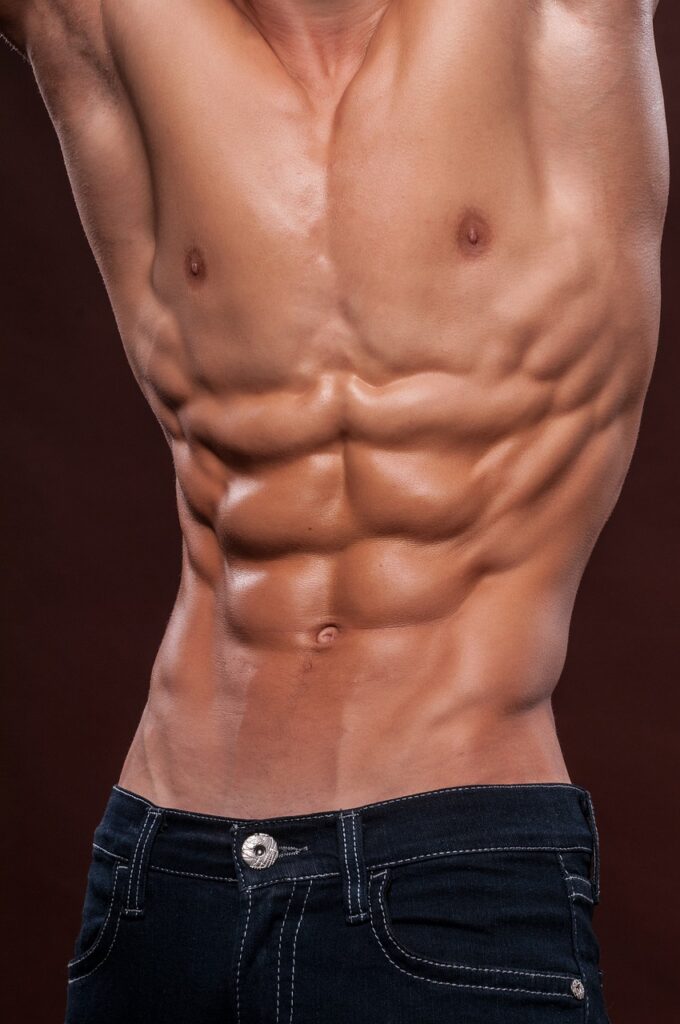
The rectus abdominis (RA) is a long, flat muscle that runs down your abdomen. It’s often referred to as the “six-pack” muscle because it forms six ridges when developed in people with a low body fat percentage.
Its function is to compress the abdomen and flex the lumbar spine. It also assists in breathing by influencing the volume of the thoracic cavity during inhalation and exhalation.
Transverse abdominis (TVA)
The transverse abdominis (TVA), also known as “the corset muscle”, wraps around the torso to support and protect organs from injury, stabilize your spine, and assist in breathing by regulating intra-abdominal pressure.
External and internal obliques
The external and internal obliques are located on either side of the rectus abdominis, with their fibers running diagonally toward each other – from your hips to the bottom of your ribcage. They help you bend from side to side and rotate your torso. Additionally, they also assist in breathing by reducing intra-abdominal pressure.
Hip flexors
The hip flexors attach to your lower back and pelvis. They’re responsible for pulling your legs and knees up toward your chest during the crunch.
Combined with cardiovascular exercise like running or cycling and a healthy diet, bicycle crunches can help you sculpt your abdominal muscles.
Core muscle strength is essential for activities of daily living, such as lifting objects or maintaining good posture. You use your core muscles to maintain balance while riding a bike or playing sports.
Bicycle crunches work to enhance your core stability that improves balance and helps prevent injury while exercising.
Crunches target only the front portion of your abdominal muscles but don’t work your obliques efficiently. Bicycle crunches target both the anterior abdominals and obliques, making them a great full-body exercise.
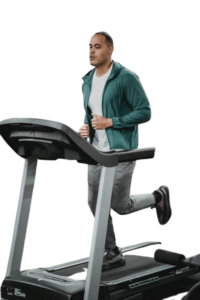
Wondering what muscles the treadmill works on? Find out here.
How to Do Bicycle Crunches Exercise
Wondering how to perform bicycle crunches?
To do bicycle crunches exercise properly, lift your legs off the floor so they are bent at a 90-degree angle, with your knees over your hips and shins parallel to the floor.
As you exhale, lift one shoulder blade off the floor as you rotate toward that side.
Inhale as you return to the center and then repeat on the opposite side.
Switch sides continuously for 30 seconds to 1 minute.
How to Do Bicycle Crunches At Home?
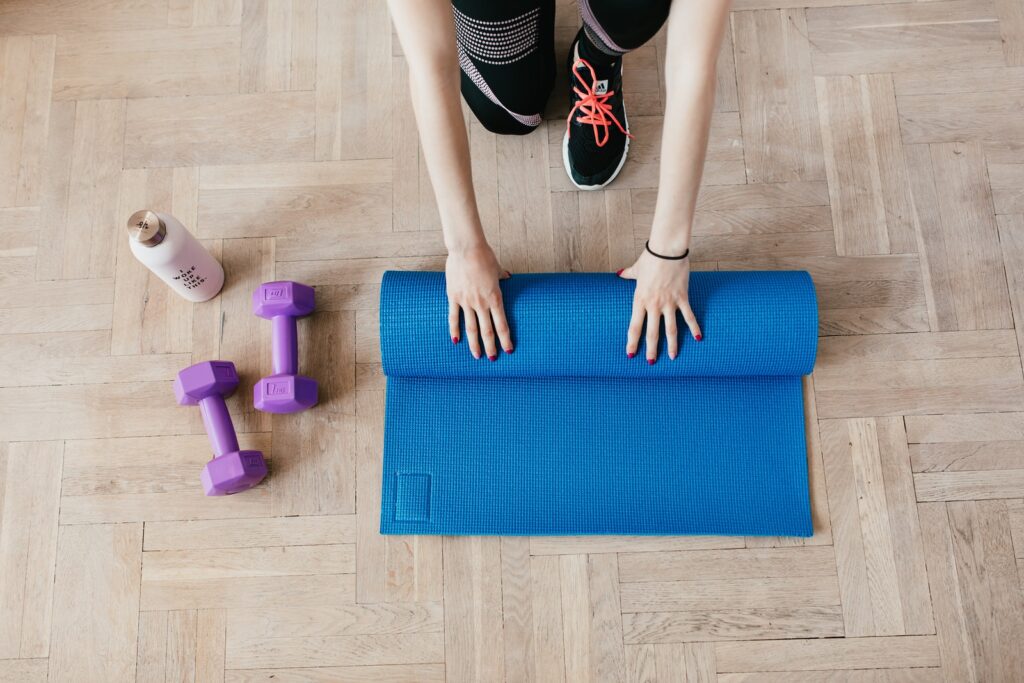
Bicycle crunches can be performed as part of a core workout or as part of a full-body routine.
They can also be done at home with little to no equipment other than a floor to lie on.
Bicycles require a bit more balance and coordination than other ab exercises. Your hips and legs must lift off the floor at the same time you twist your trunk.
The twisting motion is a very effective way to work your obliques, the muscles on the sides of your abdomen that define your waistline.
To do bicycle crunches at home, follow this step-by-step guide:
How to Do Bicycle Crunches: Step-by-Step Guide
To do a bicycle crunch, lie flat on your back with your hands behind your head.
Step 1: Lie down on your back with your knees bent. Place your hands gently behind your head, elbows pointing out to the sides.
Step 2: Lift both legs off the floor so that your knees and hips form a 90-degree angle.
Step 3: Raise your head and shoulders off the floor as you twist toward one leg so that the opposite elbow comes close to touching that knee.
Step 4: Then repeat on the other side. This completes one repetition.
Perform 3 sets of 30 repetitions each day for best results.
Bicycle Crunches for Beginners
Begin by understanding the three main aspects of bicycle crunches for beginners:
- form,
- breathing, and
- posture
By understanding these three aspects and how they relate to each other, you will be able to do bicycle crunches with ease.
The Form
If you do not have good form when doing this exercise, you will not get the full benefit from it.
Form refers to the way that your body is aligned during the exercise. In order for you to have good form, your back must be straight and your shoulders should be in line with your hips.
Your head should also be in line with your shoulders.
By doing this, you will be able to get a better workout because all of the muscles in your abdomen will be working together as one unit instead of fighting against each other.
The Breathing
This involves using deep breaths while you are performing the movements required by this exercise routine.
Deep breathing allows more oxygen into your system so that it can help you burn fat faster and more efficiently.
The Posture
Your posture is also equally important for performing bicycle crunches properly. To improve it, you can include exercises for stretching and strengthening your back muscles so that they can support you during this workout routine.
How to Do Bicycle Crunches for Beginners?

It’s easy to do this exercise if you’re a beginner. It only requires a little bit of space and some self-discipline. But to make sure you do them correctly, follow these steps:
Step 1: Lie flat on the floor, with your lower back pressed to the ground (pull your navel in to also target your deep abs).
Step 2: Put your hands behind or beside your head (do not lock your fingers).
Step 3: Bring the knees in towards your chest and lift the shoulder blades off the ground without pulling on your neck.
Step 4: Straighten your left leg out to about a 45-degree angle while turning your upper body to the right, bringing the right elbow towards the left knee. Make sure your rib cage is moving and not just your elbows.
Step 5: Now switch sides and do the same motion on the other side to complete one rep.
If you’re a beginner, start with one set of 10 to 15 repetitions. As you become more advanced, increase the number of sets to two or three and the repetitions to 20 to 30 per set.
TIP
It’s best not to perform bicycle crunches every day.
When incorporating them into your routine, aim for two or three days a week on non-consecutive days. For example, do bicycle crunches on Monday but rest on Tuesday and do them again on Wednesday.
If you feel any pain in your lower back when doing this exercise, stop immediately and consult with your doctor.
The bicycle crunch is a great exercise because it not only works your abdominal muscles but also helps with your hip mobility.
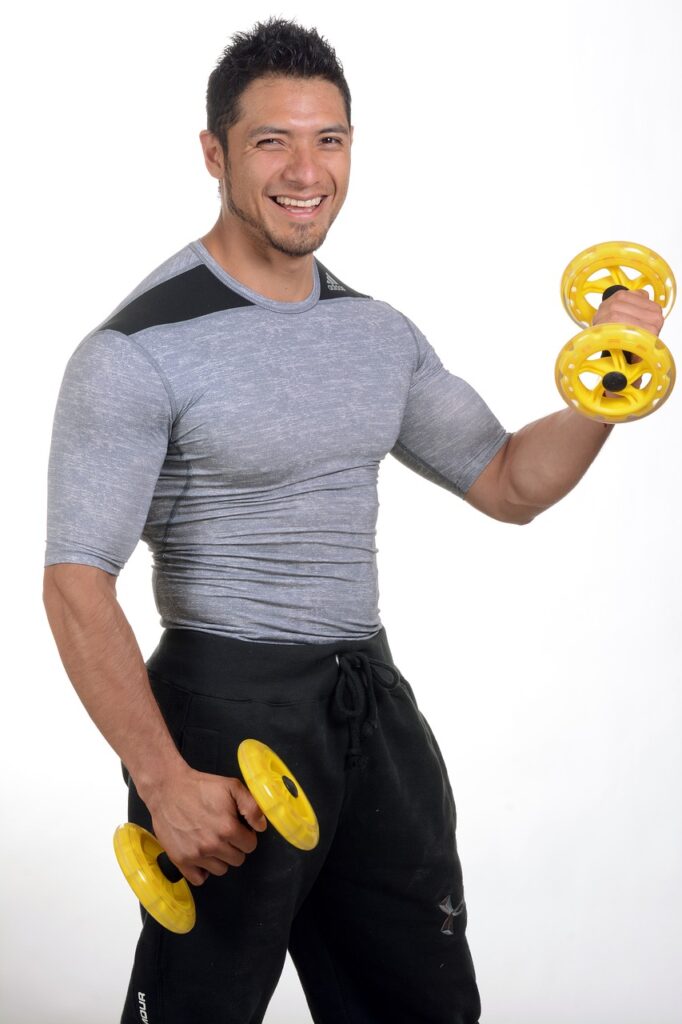
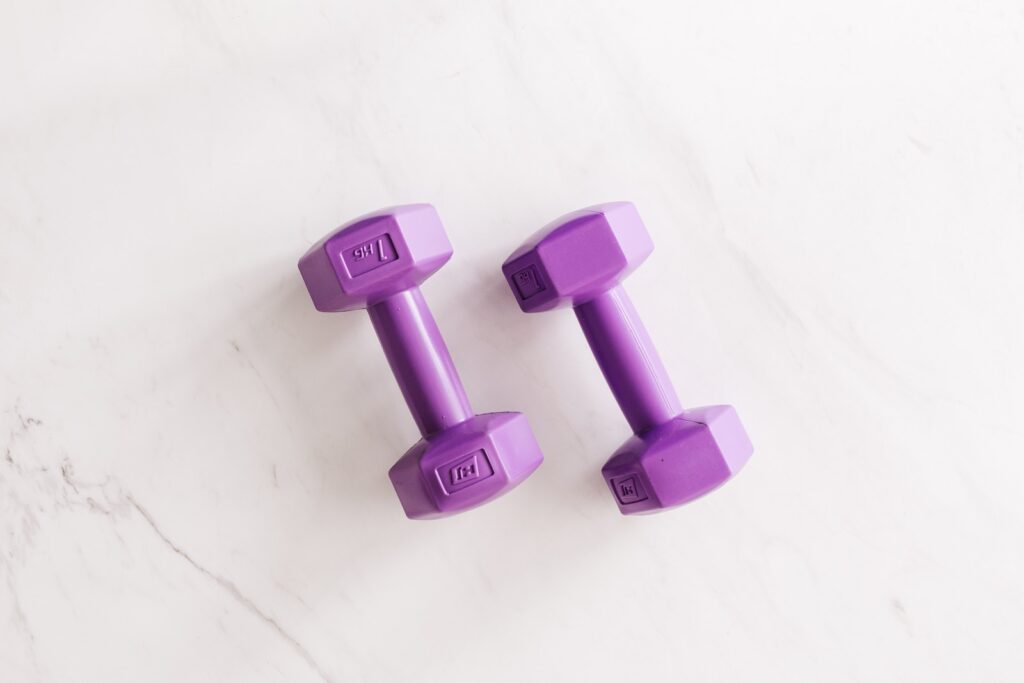
It is best to learn how to do the bicycle crunch without weights first. Then, once you become more comfortable with the exercise and have developed good form, you may want to add some weight to the exercise by holding a small weight plate or dumbbell in your hands.
Bicycle Crunches Breathing
When you do bicycle crunches, your body needs more oxygen, so it’s important to make sure your breathing is smooth and controlled. You don’t want to be out of breath or hold your breath during the entire exercise.
What is the correct breathing pattern while doing Bicycle Crunches?
Exhale when you bring your legs up towards your chest and twist towards the opposite elbow.
Inhale when you return to the starting position.
This breathing pattern is very similar to that of other abdominal exercises, such as:
- Crunches
- Vertical Leg Crunches
- Flutter Kicks
The only difference is that during bicycle crunches, you are breathing in and out twice for each repetition (inhaling and exhaling as you rotate).
So, if you’re doing a set of 10 reps, that’s 20 total breaths.
REMEMBER
Improper breathing can lead to fatigue and dizziness.
How Many Bicycle Crunches Should I Do?

Bicycle crunches are one of the most effective exercises for working your abs, but they’re not as easy as they look.
To do them correctly and reap the benefits, you need to be able to connect with your core muscles by using deep breathing and tightening your abdominal muscles.
REMEMBER
Doing a lot of reps doesn’t help if you don’t have good form.
How many bicycle crunches should you do?
The number of bicycle crunches you should do is based on your fitness level.
When you first start doing bicycle crunches, aim for 10 repetitions on each side. If this is too easy, increase it to 15 reps on each side.
If it’s still too easy, increase the number of reps again until you feel like you’re struggling to finish your last few reps.
Once you can do 15 reps with ease, add a second set of 15 reps to your workout routine.
The number of bicycle crunches you should do depends on your fitness level and goals. The American Council on Exercise recommends doing them slowly, with good form, for 15 to 20 repetitions in two to three sets at least three times per week
How to Make Bicycle Crunches Harder?
Planks, bicycles, and crunches can be challenging exercises for people at all levels of fitness. And if you are looking to increase your strength and endurance, you should challenge yourself to make the exercise more difficult.
There are plenty of ways to make bicycle crunches harder and more challenging, but it’s important to know your limits and not overdo it right off the bat.
After all, performing too many reps can lead to muscle strains or pulled tendons.
TIP
Start slowly and increase the intensity gradually.
So, how to make bicycle crunches harder?
Technique 1 to make bicycle crunches harder: Slow your pace
Perform bicycle crunches in a slow and controlled fashion.
The pace of the exercise will be slower than you are used to doing, but this will force your abs to work harder.
If you want even more resistance, place a weight on your chest while doing the exercise.
Technique 2 to make bicycle crunches harder: Do them on an unstable surface
Balance on a stability ball while performing bicycle crunches.

Doing bicycle crunches on an unstable surface requires your body to work harder to keep balance during the exercise, which will make this exercise a bit more challenging.
The higher up on the ball you are positioned (toward your feet), the more difficult it will be.
Technique 3 to make bicycle crunches harder: Combine other abdominal exercises
Incorporate other abdominal exercises into your routine with bicycle crunches.
For example, perform reverse crunches or side planks in between sets of bicycle crunches.
Adding different exercises will keep your muscles working for longer periods of time and therefore burn even more calories.
Technique 4 to make bicycle crunches harder: Do them fast
To make the exercise more difficult, you can increase the speed of the movement.
Aim for three sets of 10 repetitions, resting for one minute between sets.
How to Do Bicycle Crunches With Weights?
The bicycle crunch is an effective abdominal exercise. The move targets your abs, but it also works your hips, chest, shoulders, and neck. The bicycle crunch is an advanced exercise.
You can do this by adding a weight plate or dumbbell. And you can do them in more than one variation.
Technique 1 to do bicycle crunches with weights
- First, lie on your back, knees bent and feet flat on the floor.
- Hold the weight in front of your chest with both hands.
- Cross your right elbow over toward your left knee as you straighten your right leg out at a 45-degree angle.
Then do the same with your left side.
Continue alternating sides in a pedaling motion while keeping your lower back pressed against the floor.
Technique 2 to do bicycle crunches with weights
- Lie down on the floor or a yoga mat and place your hands at the back of your head.
- Hold a dumbbell in each hand and lift them up so they are parallel to the floor.
- Then while holding this pose, bring your right elbow towards your left knee and straighten your right leg out.
- While you’re doing that, straighten your left leg out and bring your left elbow towards your right knee.
Keep alternating from side to side, like you are riding a bicycle.
Try doing this for 60 seconds each exercise session for the best results.
Technique 3 to do bicycle crunches with weights
- Hold one dumbbell in each hand, arms straight.
- Lift your feet off the floor and extend your legs toward the ceiling, keeping your knees bent 90 degrees, toes pointed. This is your starting position.
- Keeping your lower back pressed into the floor, raise your left leg toward the ceiling until it is perpendicular to the floor, toes pointed, knee bent 90 degrees.
- Simultaneously rotate your torso toward that leg and lift both hands up near that knee, palms facing each other.
- Slowly lower back down to return to starting position and repeat with the opposite arm and leg extended.
Continue alternating legs for one minute.
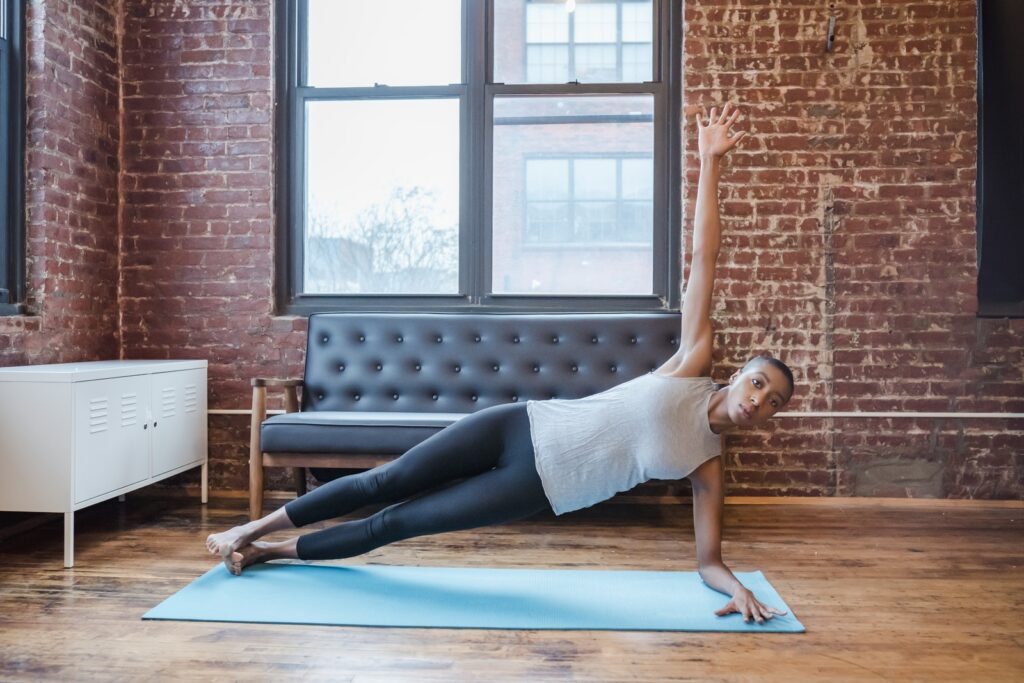
Side Crunches
The side crunch is a core strengthening exercise that targets your obliques, the muscles on either side of your abdomen.
Side crunches are great for toning your love handles and obliques, but it is important to perform them correctly. Doing so will maximize the benefits and prevent injury.
Here’s how to do side crunches properly.
Step 1: Lie on your back with your legs fully extended. Bend your knees slightly, so that the soles of your feet are flat on the ground.
Lift both hands up over your head, with your elbows bent and palms facing each other.
Step 2: Put one hand behind your head, with the opposite hand next to it on the floor to support you (this does not count as one of your reps).
The hand behind your head should be able to touch your ear without much strain.
Do not pull on your head as you lift; this can cause neck pain or injury!
Step 3: Contract the oblique muscles in one side of your waist. Inhale deeply and slowly exhale as you raise that side of your upper body off the floor, bringing the elbow towards the knee while keeping both shoulder blades flat on the ground.
Step 4: Pause briefly at the top of this crunch, then slowly lower yourself back down without letting either shoulder blade lift off the ground.
Difference between bicycle crunches and side crunches?
Bicycle crunches and side crunches are both great exercises that work your abs in slightly different ways.
Bicycle crunches primarily target your rectus abdominis, the long pair of muscles that run down the front of your stomach. Side crunches primarily target your obliques, which are located on the sides of your stomach.
Both of these exercises are beneficial for your abdominal muscles. They also help you develop strength and core stability, which can improve your performance in athletics and other activities.
Final Words
When you’re counting stomach-flattening crunches, consider the type and intensity of the exercise.
REMEMBER
If you’re looking to get super fit, it’s best to do a variety of exercises.
Bicycle crunches are an advanced ab exercise, so start with the basics before moving on to this advanced move.
TRENDING NOW
- How to Burn Face Fat: Proven Ways

- How to Cut Without Losing Muscle: The Ultimate Guide to Effective Fat Loss
- Discover How Grapes Boost Your Health and Well-being
- How to Lose Fat in Fingers: Effective Strategies and Exercises

- Is Mustard Keto?
- Is Guava Keto-Friendly?
- Is Lemon Water Good For Weight Loss?

- How To Lose Weight in 4 Easy Steps?
- 9 Reasons Why Sweet Potatoes are a Great Choice for Weight Loss
- Are Oranges Good for Weight Loss?
- How To Do Bicycle Crunches?
- What Does The Bicycle Workout Do?

- Is Treadmill Or Stairmaster Better For Weight Loss?

- Is Cycling Better Than Treadmill?
- Does Treadmill Help With Weight Loss ?